
How to Use the Setup Wizard in ElderSuite
Open the Setup Wizard from the provider list before sign-in to create an account or authorize this computer with Create Account, Authorize Device, or Start Setup Wizard.
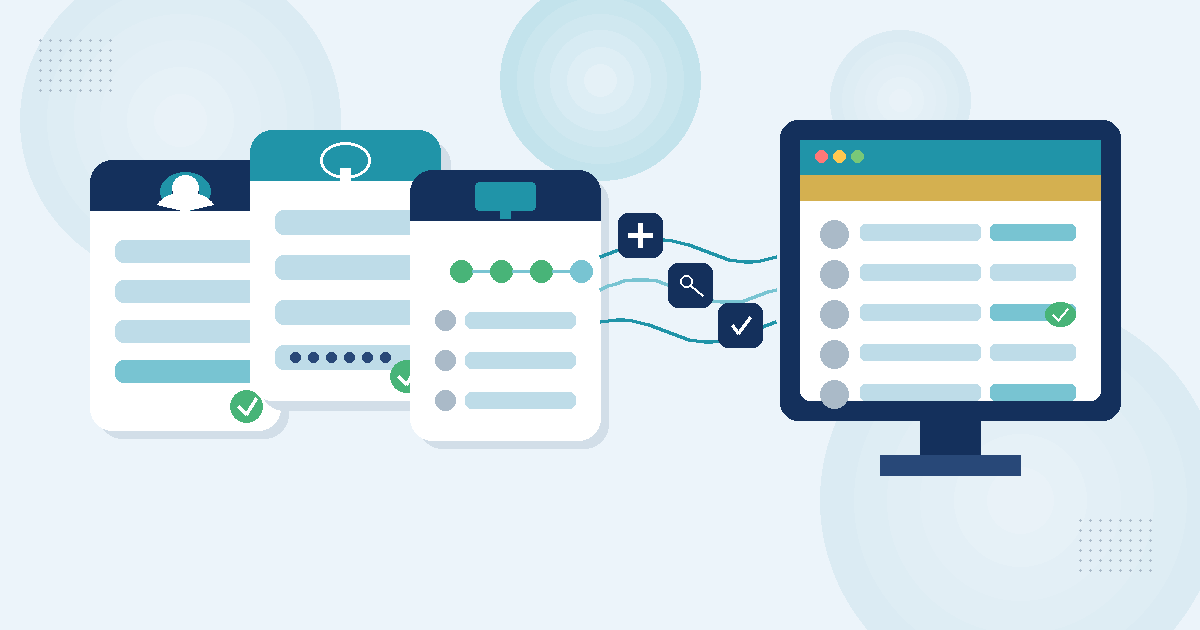
Watch the video walkthrough
📝 Overview
The Setup Wizard is how ElderSuite gets onto a computer for the first time. It runs from the provider selection panel on the ElderSuite main window before anyone signs in — it is not inside any Center. Use it to create a brand-new provider account, or to authorize this computer for an account you already have.
Three buttons open the same wizard on different starting steps: Create Account, Authorize Device, and Start Setup Wizard... on the ElderSuite application menu. This Guide covers the wizard window itself. For downloading and installing the Windows app, see How to Install ElderSuite. For the first-week path after the account is on the computer, see Getting Started with ElderSuite: Your First Steps.
⚙ How It Works
1. Open the Setup Wizard Before Sign-In
On the provider selection panel of the ElderSuite main window, choose how you want to start:
Create Account — opens on the Select State step for a facility that has never had an ElderSuite account.
Authorize Device — opens on the Existing Account Setup step so this computer can join an account that already exists.
Start Setup Wizard... — opens on the Select Account Type step, where you pick New Account Setup or Existing Account Setup and click Continue. New Account Setup is selected to begin with.
The window shows one step at a time. Step headers are hidden, so you move with Continue, Go Back, Exit, and Finish — not by clicking tabs.
2. Create a New Account
From Create Account (or New Account Setup after Select Account Type), choose the state where the facility operates, then click Continue. If no state is chosen, Continue does nothing until you pick one.
On New Account Setup, enter the facility contact information, identifiers, and physical and mailing addresses. Use >> Copy >> when the mailing address matches the physical address. Click Continue when the required fields are complete.
ElderSuite builds the Account No. for you — you never type it. It appears as a read-only value on the New Account Setup ID step in the pattern ADC, the two-letter state code, and the current date and time. Write down the Account No., User Name, and Password shown there; every other computer needs those credentials to authorize later. Enter User Name, Password, and Confirm Password, then click Continue to start building the account.
While the account is being built, the wizard shows a progress page and will not close. When setup finishes, click Finish on the completion step to return to the ElderSuite main window.
3. Authorize This Computer for an Existing Account
Click Authorize Device (or choose Existing Account Setup from Select Account Type). Type Provider Name, Account No., Your User Name, and Your Password — credentials for an active employee with May Authorize Devices turned on, or for the account administrator.
Click Continue. A please-wait message reading Authorizing Device... appears while ElderSuite finds the account, checks the credentials, writes the connection file, and registers this computer. On the completion step, click Finish. The account can then be signed into on this computer.
If the person signing in is not allowed to authorize devices, ElderSuite shows a Not Permitted message. Ask an administrator to turn on May Authorize Devices on that employee record in the Provider Center, then sign out and back in — or have the administrator authorize the computer.
4. Exit or Finish Without a Title-Bar X
The Setup Wizard has no title bar and no X button. On the early steps, Exit closes the wizard without keeping what you typed and brings back the provider selection panel. On the completion steps, Finish closes the wizard after setup succeeds. While a new account is still being built, the wizard refuses to close.
Run the wizard again for each further computer or account: Authorize Device for an existing account, Create Account to create another one.
✅ Important Limitations
The Setup Wizard is not in any Center. It opens only from the provider selection panel (or Start Setup Wizard...) before sign-in.
There is no title-bar X. Use Exit or Finish to leave.
You cannot close the wizard while a new account is still being built.
Authorizing a computer requires an active employee with May Authorize Devices, or the account administrator.
The user never types a new Account No. ElderSuite builds it and shows it read-only on New Account Setup ID.
Installing the Windows app is a separate step from this wizard. Use the Install Guide for download and setup of the program files.
💡 Need More Help?
For step-by-step assistance, click Ask Eddie from within ElderSuite.
Follow ElderSuite in Google
Add ElderSuite as a Preferred Source to help Google show you more of our adult day care articles, industry updates, and resources.
For step-by-step assistance, click Ask Eddie from within ElderSuite.
ElderSuite is adult day care software for attendance, Medicaid billing, nursing documentation, and CACFP. You can try it free for 30 days.
Start a Free Trial
