
How to Scan Documents into ElderSuite
Scan or attach PDFs to Client Documents, Employee Documents, or Provider Documents so each file stays with the record it belongs to and can be found later.
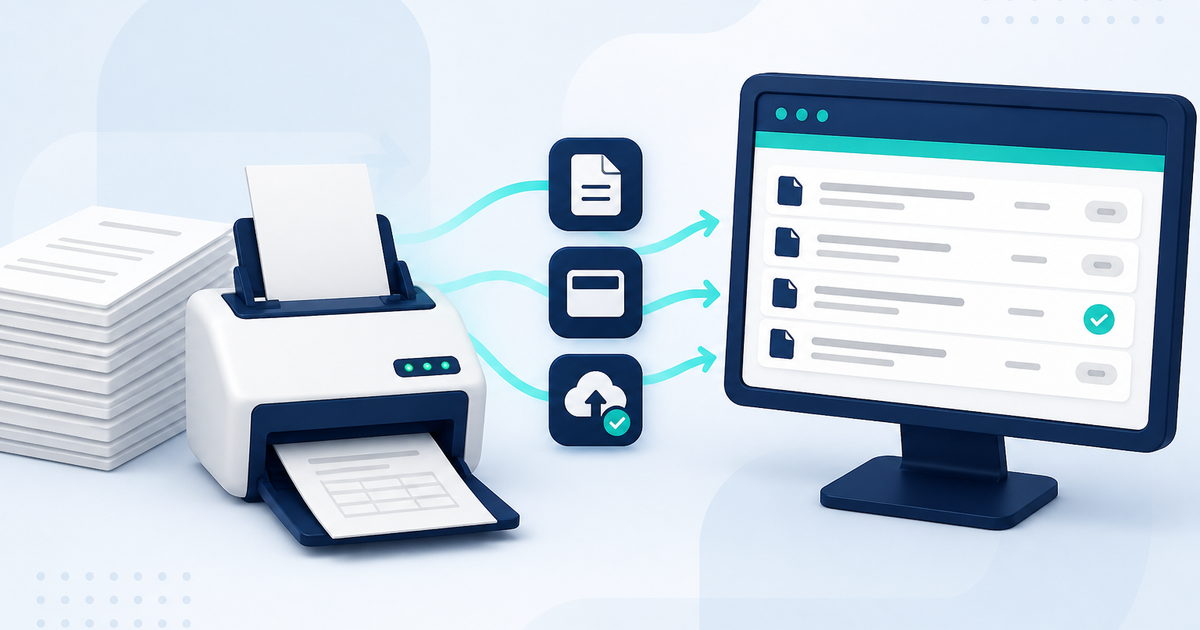
Watch the video walkthrough
📝 Overview
ElderSuite Document Management keeps files with the records they belong to so staff can find them from computers where they have access to those records.
Use the document area that matches the file:
- Client Documents — signed forms, assessments, intake paperwork, and other documents belonging to a client
- Employee Documents — licenses, certifications, and other employee records
- Provider Documents — licenses, agreements, insurance records, and other documents belonging to the center
You can scan documents directly into ElderSuite or attach PDF files already saved on the computer.
The ElderSuite Scan Manager is the scanning tool used from these workflows. It is not a separate document-storage location.
⚙ How It Works
1. Open the Correct Document Area
For a client or employee, open the appropriate record and click Manage Documents.
For center-level documents, open Provider Center and click Manage Provider Documents.
The document list shows the files stored with that record. Use Find to search the list, and use View or double-click a row to open a document.
2. Scan or Attach a Document
Click Scanner to open the ElderSuite Scan Manager and scan pages into the document area you opened.
To attach a PDF already saved on the computer, click Local Files and select the file.
Enter a clear Title and, when useful, a Description. A title is required when adding a document through Local Files. A scanned document can be returned to the list without a title, so review the Title column and add a descriptive title before saving.
3. Save the Document List
Newly scanned or attached documents are not stored on the ElderSuite Document Server until you click Save & Close in the document list.
Save & Close also commits title or description edits and completes document removals made during the current session.
✅ Important Limitations
Local Files accepts PDF files.
Scanned client, employee, and provider documents are converted to PDF by the ElderSuite Scan Manager and returned to the document list for saving.
Attendance time sheets and meal-count logs use their own import workflows: Scan Times for attendance and transportation times, and Scan Meals for meal marks. Do not use the general document lists as a substitute for those workflows.
Store client, employee, and provider files in their matching document areas so the records remain organized and access applies in the expected place.
🔐 Privacy & Security
Client, employee, and provider documents can contain sensitive information. Confirm that you opened the correct record before scanning or attaching a file, and limit access through the applicable ElderSuite permissions and organizational policies.
💡 Need More Help?
For help scanning, attaching, finding, or saving a document, open Ask Eddie inside ElderSuite.
Document scanning is part of ElderSuite documentation software for adult day care centers.
Follow ElderSuite in Google
Add ElderSuite as a Preferred Source to help Google show you more of our adult day care articles, industry updates, and resources.
For help scanning, attaching, finding, or saving a document, open Ask Eddie inside ElderSuite.
ElderSuite is adult day care software for attendance, Medicaid billing, nursing documentation, and CACFP. You can try it free for 30 days.
Start a Free Trial
