
How to Use Claim Setup in ElderSuite
Set one client's claim details in Claim Setup, under Client Information Payment Settings. Choose the payment type, clear what turns gold, and save. This is not Claim Center.
Watch the video walkthrough
📝 Overview
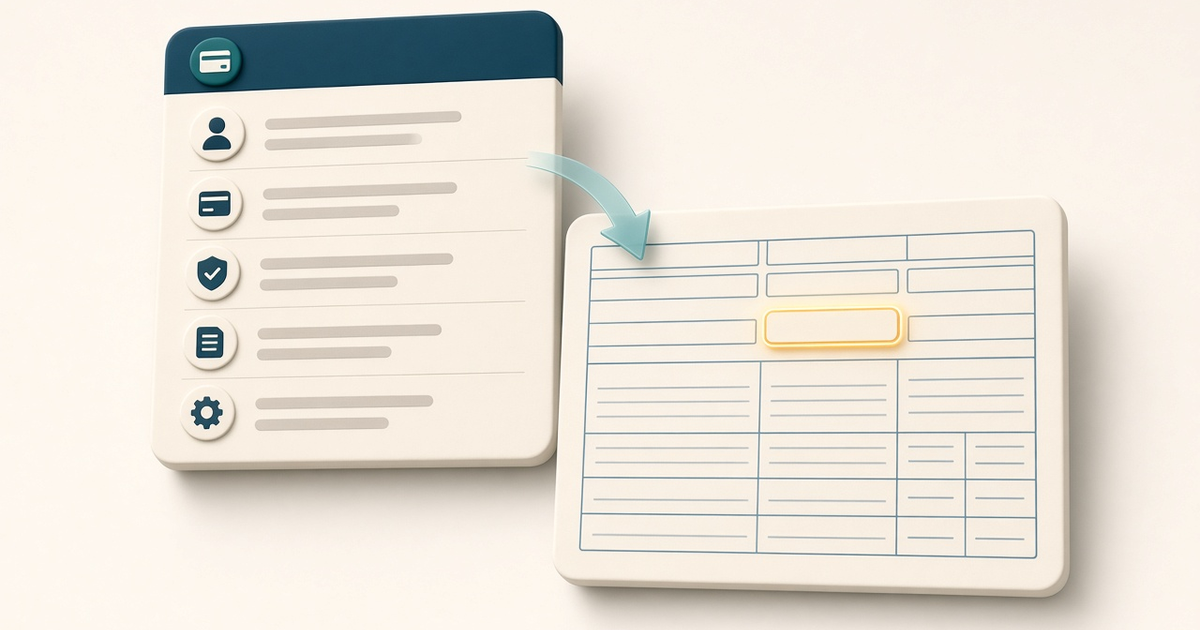
Claim Setup holds the billing settings one client's claims are built from. The window is laid out like the CMS-1500 health insurance claim form, so the payment type, insured I.D., diagnosis, place of service, and service code sit where staff expect them on a claim.
ElderSuite serves adult day care centers nationwide.
Open it from the Client Center. On Client Information, go to the Admission Info tab, then the Payment Settings inner tab, and click Claim Setup. The window belongs to that one client. It is not a menu item on the Claim Center.
This is not Manage Payment Types, where the center's payment types are added and edited, and it is not Update Payment Settings, the Yes or No prompt that can appear when a payment type's pay rate changes. Claim Setup also does not process, scrub, or reconcile claims, and it is not where clearinghouses or ERA enrollment are set up. For the center's payment-type list, see How to Manage Payment Types in ElderSuite. For that pay-rate prompt, see How to Update Payment Settings in ElderSuite.
⚙ How It Works
1. Open Claim Setup for the Client
Open the Client Center from the ElderSuite main menu. Click Add New Client, or click Client List and then Edit Client (or double-click the client's row).
On Client Information, open the Admission Info tab, then the Payment Settings inner tab, and click Claim Setup.
If the client has never been saved, or the record has unsaved changes, ElderSuite asks you to save first. Yes saves and then opens Claim Setup. No leaves you on Client Information. On a saved client with unsaved changes, the question is You must save your changes before modifying the Claim Setup. Would you like to save your changes now?
If a Claim Setup window is already open, ElderSuite closes it first so only one is on screen. Leave Client Information open behind Claim Setup. If that window is closed, a later save from Claim Setup is not stored.
2. Choose the Payment Type
In box 11c, choose the client's Payment Type and move off the field. That is the field the rest of the setup follows.
ElderSuite copies that payment type's place of service, service code, and modifier onto the form, sets the relationship to insured to Self, and fills the insurance program in box 1 and the Insured's I.D. Number when it can read them from the payment type and the client record. The payment type's pay rate and pay rate type are copied onto the client as well.
The list offers the center's active payment types, other than the entries named None and All, plus the payment type the client already has. Choose the type before you type over a place of service, service code, or modifier. Choosing the type again replaces those entries with the payment type's own.
Setting the payment type to None, or clearing it, clears the pay rate, pay rate type, place of service, service code, modifier, relationship, insured I.D. number, and insurance program, and turns the Payment Type field gold.
3. Clear What Turns Gold
When the window opens, and again when you leave a field the check watches, ElderSuite turns gold anything that is missing or that does not match the payer. Nothing else is shown—no message. Gold can appear on the insurance program buttons in box 1 and the strip beneath them, the Payment Type, the Insured's I.D. Number, the Diagnosis Code, the Place of Service, the CPT/HCPCS service code, and the patient's birth date. A correct entry returns to its normal color when you leave the field.
For a Medicaid payer, an empty Insured's I.D. Number is filled from the client's Medicaid number on Client Information. If no Medicaid number is recorded, that field stays gold until the number is on the client and the check runs again.
The patient's birth date in box 3 is read-only here. Record it on the client's Contact Info tab in Client Information. If it is empty, the birth date turns gold on Claim Setup and cannot be typed on this window.
The diagnosis sits at position A in box 21. Click the Diagnosis Code field—until a code is chosen it shows Search—and pick a row from the ICD-10-CM list. The list has a Code column and a Description column. Positions B through L are printed letters only, so a second diagnosis cannot be entered here.
A warning icon on the diagnosis means the code is not in the current ICD-10-CM list. It may have been retired, be a category heading rather than a billable code, or have been mistyped. The icon does not block the save. Open the list and pick a current code, or leave the older code when it is the right one for that record.
Box 1 must match the payer behind the payment type. When ElderSuite recognizes that payer, the program has to be the one that payer expects. A Veterans Administration payer must be OTHER. When the payer is None, blank, or not one ElderSuite recognizes, no program is required, and box 1 is not turned gold for a missing program.
The modifier in box 24D and the Prior Authorization Number in box 23 can be typed when the claim needs them. Neither turns gold. The authorization field is skipped by the Tab key, so click it to reach it. The relationship in box 6 and the three box 10 answers—employment, auto accident, and other accident—are saved with the setup and are not part of the gold check.
Do not read a form with no gold as finished until a real payment type is selected. If none is selected, or the type on the record cannot be found, the other checks do not run.
4. Click Save & Close
Click Save & Close on the toolbar in the Claim Setup header. ElderSuite commits the entries, closes the window, and brings Client Information back to the front.
Save & Close does not write the client record to ElderSuite by itself, and it does not refuse to close while fields are still gold. Client Information is the window that stores the record. Leave it open while you work, then save the client there before you leave the record.
Closing Claim Setup with the title-bar close asks Would you like to save your changes? when something was edited. No drops those changes.
Boxes 25, 32, and 33 show the center's provider details and cannot be edited here. They are maintained in the Provider Center.
✅ Important Limitations
Claim Setup is opened only from the Claim Setup button on a client's Payment Settings inner tab. It is not on the Claim Center.
This window stores the settings the client's claims are built from. It does not open, transmit, scrub, or reconcile a claim.
Nothing on Claim Setup blocks a save. Save & Close works while fields are still gold, so scroll the form and clear the gold before you close when the claim should be complete.
Save & Close does not write the database. If Client Information is not open, the save is not stored anywhere.
A diagnosis is required for the gold check except when the payer is State Medicaid, None, or blank. Only position A in box 21 can hold a code.
The place of service and the CPT/HCPCS service code are required for the gold check except when the payer is None or blank. Each is filled from the payment type and can be typed over until the payment type is chosen again.
The patient's birth date is read-only on this window. An empty date turns gold until it is recorded on Client Information.
The modifier, the prior authorization number, the relationship in box 6, and the three box 10 answers never turn gold.
If a save fails while Claim Setup is closing, the window still closes and the changes are not kept. Reopen Claim Setup from Client Information and confirm the entries.
⚠ Choosing a Payment Type Replaces the Codes
Choosing a Payment Type in box 11c replaces the place of service, service code, and modifier with that payment type's own, copies its pay rate and pay rate type onto the client, sets the relationship to insured to Self, and refills the insurance program and the Insured's I.D. Number.
Enter or correct those codes after you choose the payment type, not before. Changing the type again writes the new type's codes over anything you typed, including a modifier you changed for this client only.
💡 Need More Help?
For step-by-step assistance, click Ask Eddie from within ElderSuite.
Follow ElderSuite in Google
Add ElderSuite as a Preferred Source to help Google show you more of our adult day care articles, industry updates, and resources.
For step-by-step assistance, click Ask Eddie from within ElderSuite.
ElderSuite is adult day care software for attendance, Medicaid billing, nursing documentation, and CACFP. You can try it free for 30 days.
Start a Free Trial
