
Adult Day Care Software Implementation: What to Expect When Switching Systems
Switching to ElderSuite starts with installing and authorizing the Windows application, completing core setup, adding clients, and validating the workflows your center uses.
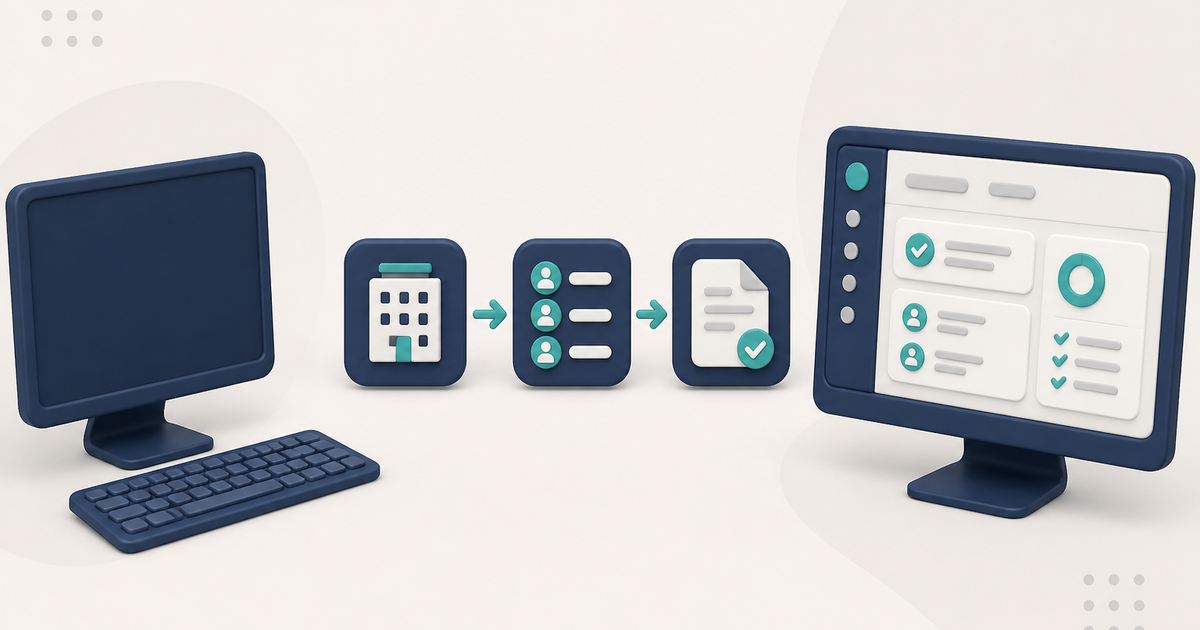
Watch the video walkthrough
Switching adult day care software works best when the center prepares the information ElderSuite needs before staff begin live attendance, documentation, and billing.
ElderSuite is a Windows desktop application. Each computer is installed and authorized, then the center completes the provider, staff, payer, client, and workflow settings used throughout the program.
Install and authorize ElderSuite
Download ElderSuite from eldersuite.com and install it on each Windows computer that will be used at the center. Each workstation is then authorized for the center’s ElderSuite subscription.
Choose Setup New Provider when creating a new ElderSuite account. Choose Setup Existing Provider when connecting another computer to an existing account.
A Getting Started tutorial is available from the Provider sign-in panel, and users can open Ask Eddie inside ElderSuite whenever they need help with a specific screen or workflow.
Complete the core setup
Before the center begins live work, complete the setup areas that apply to its operation:
- Provider Information for the center’s contact information and provider identifiers
- Manage Employees for staff records, user logins, and permissions
- Manage Payment Types for payers, rates, billing defaults, payer IDs, and unit definitions
- Manage Routes and pickup order when the center provides transportation
- Contractor Information and Manage Meal Times when the center uses nutrition workflows
- Manage Clearing Houses for electronic claim connections
ElderSuite reuses this information throughout attendance, reporting, nutrition, and billing, so completing the setup accurately prevents unnecessary re-entry later.
Add clients before entering live attendance
Clients are maintained in Client Information. Complete the information the center needs for daily operations, including the client’s Start Date and Payment Settings, before staff begin entering live attendance.
For insurance billing, save the client first and then complete the client’s Claim Setup. How to Add a Client in ElderSuite walks through the process.
Bring existing documents into the appropriate record
ElderSuite keeps scanned and electronic documents with the records they belong to:
- Scan Times imports completed attendance and transportation sheets
- Scan Meals imports marked meal-count logs
- Client Documents stores client forms and signed chart paperwork
- Employee Documents stores staff paperwork
- Provider Documents stores center documents
Existing PDF files can also be added through Local Files in the applicable document list.
Plan for data entry when switching from another system
ElderSuite does not include a customer-facing bulk import or automated conversion tool for transferring another software database or spreadsheet directly into ElderSuite.
During implementation, enter or verify the provider, staff, payer, client, and other operational information the center needs for live use. This keeps the new ElderSuite records complete and gives staff an opportunity to verify the information before it begins driving attendance, reports, and claims.
The first live claim begins with attendance
When Attendance & Transportation Records are saved for a client and service date, ElderSuite creates the associated claim as Pending. Units are calculated from the recorded times and the client’s Payment Type.
From there, follow the Claim Center workflow in order: Scrub Claims, Process Claims, View Reports, and Reconcile Claims.
Scrub Claims is required before submission. Run Scrub & Fix, resolve every scrub error, rerun the scrub until the claims are error-free, and save the scrubbed claims. Then use Process Claims to transmit the eligible batch.
ElderSuite supports electronic claim submission through Availity and TMHP. Texas Medicaid DAHS fee-for-service claims use TMHP, while payers that accept claims through Availity use the Availity connection.
Keep each workstation current
ElderSuite checks for updates automatically at startup, while the program is running, and when it closes. Users can also check manually from Help Center → Update ElderSuite.
Provider Center → Manage Device Installations shows the center’s authorized devices and the ElderSuite version installed on each one.
Use the free trial to validate the center’s workflow
ElderSuite includes a 30-day full-access trial with no credit card required. Training and support are included.
During the trial, work through the workflows the center expects to use: client setup, attendance, transportation, nursing, meals, reports, and claims. Staff can then begin live use with the setup and processes already familiar.
Follow ElderSuite in Google
Add ElderSuite as a Preferred Source to help Google show you more of our adult day care articles, industry updates, and resources.
Start a 30-day free trial to work through the ElderSuite workflows your center uses. For help with a specific screen, open Ask Eddie inside ElderSuite.
ElderSuite is adult day care software for attendance, Medicaid billing, nursing documentation, and CACFP. You can try it free for 30 days.
Start a Free Trial
