
How to Process Claims in ElderSuite
Claims must be scrubbed successfully before submission. Run Scrub & Fix, resolve all scrub errors, then use Process Claims to select the payer, clearinghouse, service dates, and clients.
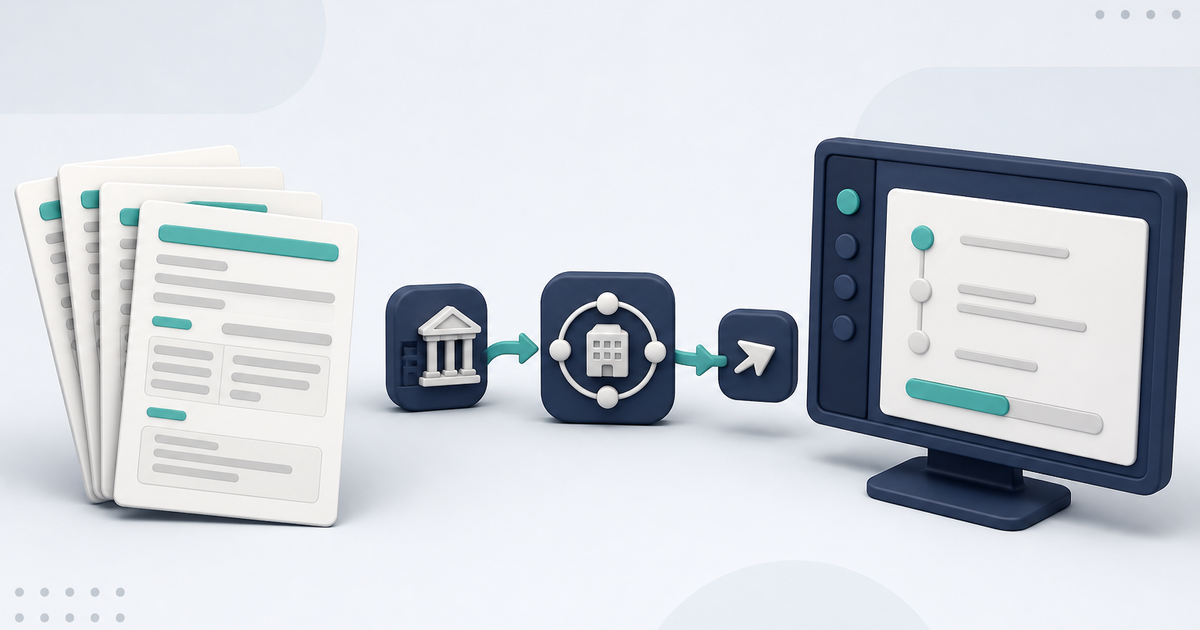
Watch the video walkthrough
📝 Overview
The Claim Center organizes the billing workflow into Scrub Claims, Process Claims, View Reports, and Reconcile Claims.
For the complete workflow from attendance through submission and reconciliation, see Adult Day Care Billing Software.
Claims must be scrubbed successfully before they are processed for submission. Open Scrub Claims, run Scrub & Fix, resolve any errors, and save the scrubbed claims. Then open Process Claims to select the payer, clearinghouse, service dates, and clients for the electronic claim batch.
Process Claims uses the resulting claim state: the claim must be Pending and have no scrub error remaining. ElderSuite then builds the electronic professional-claim transaction and uploads the batch through the selected clearinghouse connection.
After a successful upload and save, the included claims move from Pending to Submitted and receive the batch control number for that run.
⚙ How It Works
1. Scrub Claims First
Open Claim Center → Scrub Claims, select the claims for the period you plan to submit, and run Scrub & Fix.
Resolve every scrub error before continuing. A claim is ready for Process Claims only after it has been scrubbed and no scrub error remains. How to Scrub Claims in ElderSuite covers that step.
2. Open Process Claims
Return to the Claim Center and click Process Claims.
For a Limited Access user, this function requires the Process Claims permission.
3. Choose the Payer and Clearinghouse
Select the payer being billed and continue to the clearinghouse selection.
ElderSuite supports electronic claim submission through Availity and TMHP. Select the route that the payer actually accepts.
The clearinghouse connection must already be configured in Manage Clearing Houses with the required connection information and credentials.
4. Set the Service Dates and Clients
Set Service Start Date and Service End Date for the billing period.
Select all clients or choose the individual clients to include. A selected client is included only when there is also a matching Pending claim for the selected payer and service-date range that has been scrubbed successfully with no scrub error remaining.
Confirm that the end date is not earlier than the start date before continuing.
5. Process the Batch
Click Process. ElderSuite gathers the eligible scrubbed claims, builds the electronic file, and uploads it through the selected clearinghouse connection.
If no matching scrubbed, error-free Pending claims meet the selected criteria, nothing is sent. Return to Scrub Claims, resolve the batch, and scrub it successfully before trying again.
After the upload succeeds and the status changes are saved, ElderSuite records the batch control information and changes the included claims from Pending to Submitted.
If the upload itself fails, the claims remain Pending and can be processed again after the submission problem is corrected. If ElderSuite reports a save failure after the file was uploaded, verify the batch with the clearinghouse before processing those Pending claims again so the same claims are not transmitted twice.
After submission, use View Reports to download the available response files. Clearinghouse acceptance is not the same as payer payment.
✅ Important Limitations
Scrubbing is required before submission. Process Claims sends claims only after they have been scrubbed successfully and meet the submission criteria: Pending status, selected payer and service dates, selected client, and no scrub error remaining.
ElderSuite supports electronic claim connections through Availity and TMHP. Payer enrollment, routing, credentials, and outside clearinghouse requirements remain separate from the ElderSuite claim record.
Selecting a client does not create a claim. The client must already have a matching scrubbed Pending claim for the selected service period and payer.
💡 Need More Help?
For help scrubbing or processing an electronic claim batch, open Ask Eddie inside ElderSuite.
Follow ElderSuite in Google
Add ElderSuite as a Preferred Source to help Google show you more of our adult day care articles, industry updates, and resources.
For help scrubbing or processing an electronic claim batch, open Ask Eddie inside ElderSuite.
ElderSuite is adult day care software for attendance, Medicaid billing, nursing documentation, and CACFP. You can try it free for 30 days.
Start a Free Trial
