
How to Add Employees and Set Permissions in ElderSuite
Add staff in Manage Employees from the Provider Center. Give each person their own User Login Info and select only the permissions they need to use ElderSuite.
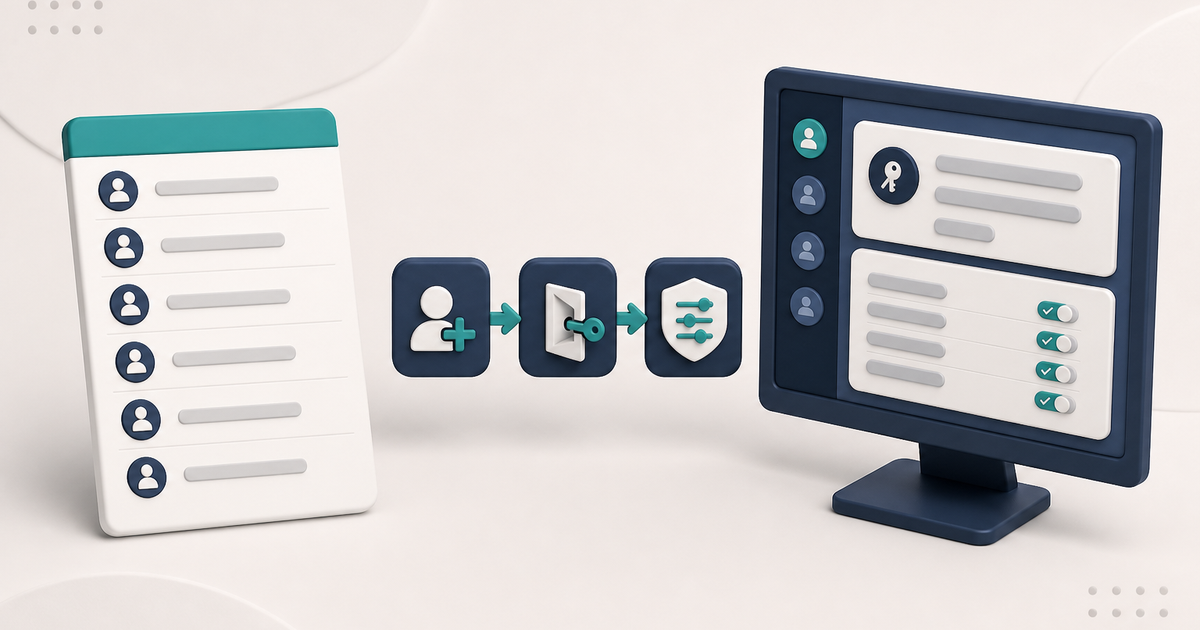
Watch the video walkthrough
📝 Overview
Manage Employees keeps each staff member's personnel record, optional login, and ElderSuite permissions together so employees can sign in with their own credentials instead of sharing the provider account.
Open Provider Center from the ElderSuite main menu and click Manage Employees. Open an employee from the list to reach Employee Information.
Employee Information contains the employee's contact information, optional User Login Info, and the permission settings that control which ElderSuite functions are available when that employee signs in.
ElderSuite assigns permissions individually rather than through broad role names. An employee can also have a personnel record without login credentials when the person needs to remain on the staff roster but should not sign in to ElderSuite.
The provider account credentials are maintained under Provider Center → Provider Information → ElderSuite Account Settings and sign in with Full Access. Employee credentials sign in with Limited Access based on the permissions saved on that employee record.
⚙ How It Works
1. Open Manage Employees
Open Provider Center and click Manage Employees.
The list opens with active employees. Change View to All when you need to see an employee who has been marked Inactive.
Click Add New for a new employee. To edit an existing employee, highlight the row and click Edit, or double-click the row.
2. Add the Employee
Employee Information opens on Contact Information. Enter at least one name value so the employee record has a display name and can be saved.
Licenses, certificates, and other employee documents can be added through Manage Documents after the employee record has been saved.
3. Give the Employee a Login
Open Manage Permissions and select the User Login Info sub-tab. Enter User Name, Password, and Confirm Password when the employee should be able to sign in.
An employee record can be saved without login credentials. When a login is created, use a distinct user name for that employee.
To reset an employee password, enter the new password in Password and Confirm Password, then click Save & Close.
When an employee should no longer have access, set the employee to Inactive and save the record. Inactive employees cannot sign in.
4. Select the Permissions the Employee Needs
Stay on Manage Permissions and work through the permission sub-tabs for Provider Center, Client Center, Nursing Center, Nutrition Center, Claim Center, and Reports Center.
Select only the functions that employee should be able to use. Select All applies to the current permission sub-tab.
Some shared configuration functions can appear on more than one permission tab. Grant the permission on the path the employee actually needs to use.
5. Save the Employee and Permissions
After the name, login information, and permissions are set, click Save & Close. This saves the employee record and writes the selected permissions.
Permission changes take effect the next time that employee signs in. They do not change the access available in a session that is already open.
At Sign In, the employee uses the User Name and Password saved on the employee record.
When a staff member leaves, mark the employee Inactive and save the record so the employee remains in historical records but can no longer sign in.
✅ Important Limitations
An employee record can be saved without login credentials. If the employee should sign in, make sure User Login Info has been completed.
ElderSuite does not provide a forgotten-password link on the Sign In screen. An administrator resets an employee password from the employee record.
Permission changes apply at the employee's next sign-in.
For a Limited Access user, an unavailable Center or command can indicate that the corresponding permission was not granted or that the employee has not signed in again since permissions were changed.
A new employee record also requires at least one name field before it can be saved.
💡 Need More Help?
For step-by-step instructions, click Ask Eddie from within ElderSuite.
Follow ElderSuite in Google
Add ElderSuite as a Preferred Source to help Google show you more of our adult day care articles, industry updates, and resources.
For step-by-step instructions, click Ask Eddie from within ElderSuite.
ElderSuite is adult day care software for attendance, Medicaid billing, nursing documentation, and CACFP. You can try it free for 30 days.
Start a Free Trial
